“`html
Mastering the Art of Low Light Videography
Capturing video in low light can be a daunting task for filmmakers and videographers, especially when striving for clarity and minimal noise. It’s essential to understand the various camera settings and techniques that can enhance the quality of your footage. This blog post explores six crucial tips to help you shoot better videos in dim lighting conditions. We delve into using slower shutter speeds, increasing ISO, utilizing LED lights, and more. Additional information provides insights into recommended settings, ISO speeds, and how to minimize grain, even when using an iPhone or other mobile devices. As we explore these strategies, you’ll be equipped to tackle any poorly-lit environment with confidence.
6 Tips for Shooting Video in Low Light
1. Use Slower Shutter Speed
A slower shutter speed allows more light to hit the camera sensor, which is critical when shooting in low-light conditions. By extending the time the sensor is exposed to light, you can achieve a brighter image. However, it’s important to balance this with potential motion blur. Use a tripod or stabilizer to keep the camera steady and reduce the blur effect.
Experimenting with shutter speed is essential. Start by gradually lowering the speed and observe the changes in lighting and clarity. Remember that a slower shutter speed is ideal for stationary subjects or minimal movement scenes. Adjusting other settings may be necessary to accommodate any limitations this brings.
2. Increase ISO
ISO refers to the sensitivity of your camera’s sensor to light. In low-light scenarios, increasing the ISO value can significantly brighten your video. However, it’s a delicate balance, as escalating the ISO too much can introduce noise or grain into your footage.
To avoid excessive grain, increase the ISO incrementally and keep an eye on the image quality through the viewfinder or screen. It’s often beneficial to experiment with different ISO levels, especially when contrasting lighting conditions are at play.
3. Use a LED Light
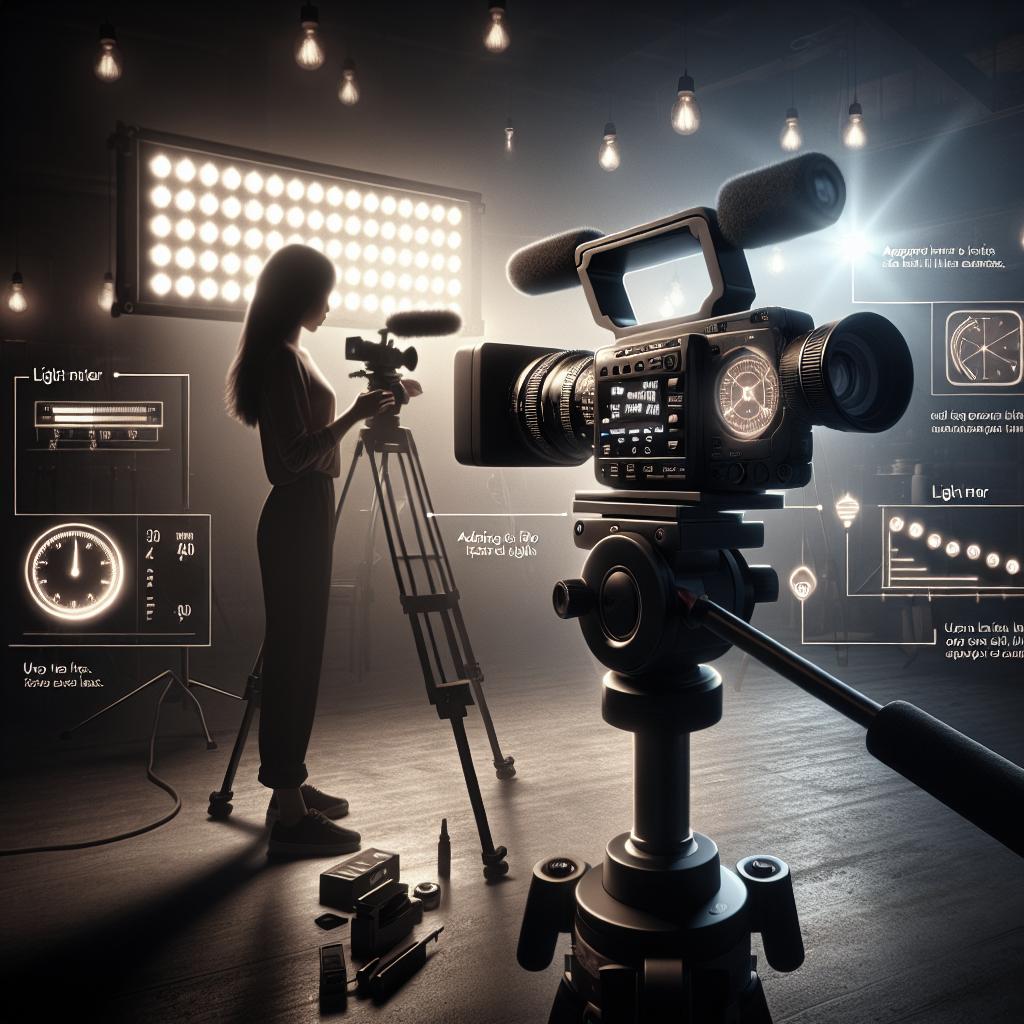
LED lights are portable and offer a direct solution to low-light problems. They come in various sizes and brightness levels, allowing you to adjust the lighting according to your needs. Utilizing a lighting kit, you can position LED lights to fill shadows and highlight your subjects effectively.
Moreover, modern LED lights often come with adjustable color temperatures, providing flexibility to match the ambient light color. This adaptability ensures a natural look to your footage. Keep LED lights handy as a versatile tool for any shooting environment.
4. Use Wider Aperture
Adjusting the aperture to a wider setting allows more light to enter the camera lens, resulting in brighter video footage. A wide aperture (typically represented by lower f-stop numbers like f/1.8 or f/2.8) helps capture more light in darker settings.
While a wide aperture is beneficial for low light, it also affects depth of field, creating a more pronounced background blur. This can be creatively used to highlight your main subject. However, ensure proper focus on critical elements within your frame to maintain desired clarity.
5. Adjust the Frame Rate
In low light contexts, using a lower frame rate can help improve your video’s brightness. This is because each frame has more time to be exposed to light, similar to the concept of reducing shutter speed. For instance, shooting at 24 frames per second (fps) instead of 60 fps can enhance the light intake.
Keep in mind that altering the frame rate will impact motion portrayal in your video. Higher frame rates are better for reducing motion blur but compromise light capture. Choose frame rates based on your content’s movement dynamics to find a sweet spot.
6. Reduce Lux
Lux is a measure of the amount of light present in your shooting environment. Lowering lux can help mitigate ambient light interference, ensuring the focus remains on your subject. Reducing lux involves controlling surrounding light sources or adjusting them to your advantage.
Consider using blackout curtains or adjusting blinds to manage natural light. Additionally, manipulating light sources within the space helps frame your subject favorably while maintaining the desired mood and atmosphere in your video.
How to Fix Low Light Video?
Post-production can greatly improve the quality of low-light videos. Software options like Adobe Premiere Pro, Final Cut Pro, or DaVinci Resolve offer to color correct and noise reduction tools. Tweaking brightness, contrast, and color balance can revamp your footage significantly.
When shooting in less-than-ideal lighting, capturing footage in raw format provides more flexibility in post-production. Raw files hold more data than compressed files, allowing greater adjustments without degrading video quality. Employ these tools to fine-tune your videos, ensuring professional results.
Additional Information
What Setting is Recommended if You Are Shooting in Low Light?
A combination of settings works best for low-light shooting. Use the widest aperture you have, with the slowest shutter speed your situation allows without introducing too much motion blur. Pair these with an ISO setting that brightens your image while keeping noise to a minimum.
Shooting in manual mode grants optimal control over these aspects. Relying on auto settings can sometimes lead to suboptimal results, as the camera may not effectively prioritize or balance critical low light components.
Which ISO Speed is Good for Extra Low Light Settings?
In exceptionally dim settings, starting with an ISO range from 800 to 1600 is generally recommended, adjusting upwards as necessary. Keep within your camera’s ISO capability to avoid excess noise.
Modern digital cameras typically handle higher ISO values better, with some able to produce clean images up to ISO 3200 or beyond. Familiarize yourself with your camera’s limits and regularly test varying ISO settings to remain prepared for different scenarios.
How Do I Shoot a Video on My iPhone with Low Light?
iPhones offer remarkable capabilities even in low-light conditions. Use manual camera apps to control exposure settings similar to those on a DSLR or mirrorless camera. Apps like Filmic Pro or Moment Pro Camera can help adjust ISO, shutter speed, and other key parameters.
Moreover, the latest iPhone models come with Night Mode, automatically optimizing settings for low light. For additional lighting, utilize compact, portable LED lights affixed to your phone or tripod. Portable light sources are pivotal when navigating tricky lighting conditions.
How to Shoot in Low Light Without Grain?
To avoid or reduce grain in low light, maintain a balanced ISO. Use noise reduction features in editing software if grain persists. Opt for lenses with wider apertures that let in more light efficiently.
Shooting with proper exposure from the start is crucial. Underexposed footage tends to highlight grain in post-production. Implement the previously discussed methods to improve exposure and reduce reliance on high ISO values that exacerbate grain.
What is the Best Camera for Low Light Video?
Cameras well-suited for low-light videos often have larger sensors and excellent ISO performance. Models like the Sony A7S III, Canon EOS R5, or Panasonic GH5S are noteworthy, offering advanced features for low-light conditions.
When selecting a camera, consider ones featuring well-regarded noise reduction algorithms, dynamic range, and compatibility with fast lenses. These attributes empower you to capitalize on available technology, optimizing your ability to capture stunning video in the dark.
Lessons Learned
| Tip | Benefit |
|---|---|
| Use Slower Shutter Speed | Increases light capture but requires stability to reduce blur. |
| Increase ISO | Adds brightness while balancing noise. |
| Use a LED Light | Provides additional illumination and versatility. |
| Use Wider Aperture | Enhances light entry with shallow depth of field. |
| Adjust the Frame Rate | Lowers fps to amplify light intake. |
| Reduce Lux | Controls and manipulates light sources to highlight subjects. |
Keep Reading
For further tips and tricks on videography, explore our other posts on camera gear reviews, post-production techniques, and storytelling in filmmaking. Stay tuned for more insights that can empower your creative journey.
“`


